
こんにちは、HYCU(ハイク)の吉田です。
毎週立て続けのブログになりますが、ご案内させてください。
HYCUは、45日間使用できる評価版をご提供しております。今月から3日間利用できるオンラインのラーニングセンター(ハンズオン環境)のサービスを開始しました。
そして、第三弾として、なんとTest DriveでNutanix Mine with HYCUが試せるようになりました!
評価版とハンズオン環境についてはまた次回とし、今回はTest DriveでNutanix Mine with HYCUを触った内容をご紹介します。
ご存じの通り、Nutanix Test DriveはすぐにHCI環境に触れることができるデモ環境です。以下のサイトから申し込みできます。
https://www.nutanix.com/jp/test-drive-hyperconverged-infrastructure
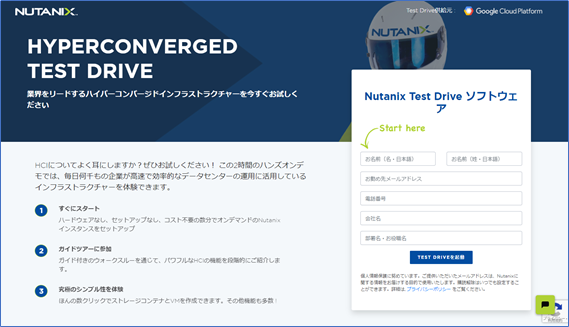
必要事項(名前やメールアドレス等)を入力し、[TEST DRIVEを起動]ボタンをクリックします。
ちなみに、英語サイトはこちらです。
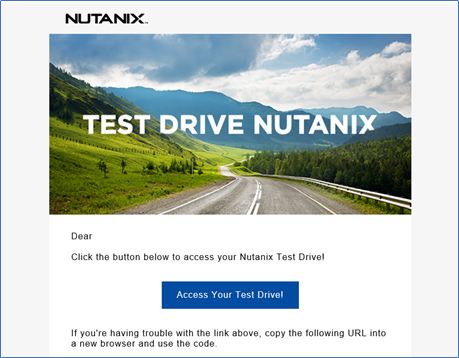
すぐにメールが届きました。Test Driveの環境が整っていますので、メール本文にある[Access Your Test Drive]ボタンをクリックします。
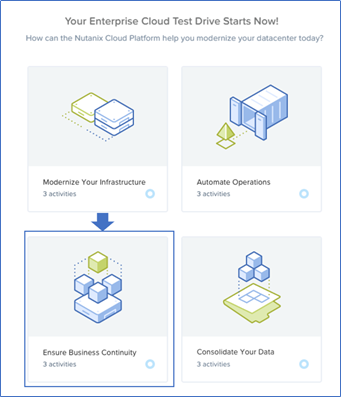
[Ensure Business Continuity]を選択します。
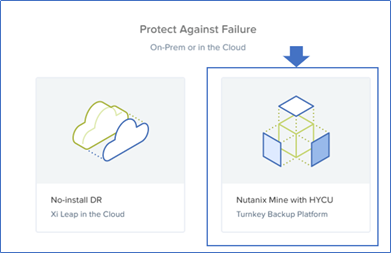
[Nutanix Mine with HYCU]を発見!こちらを選択します。
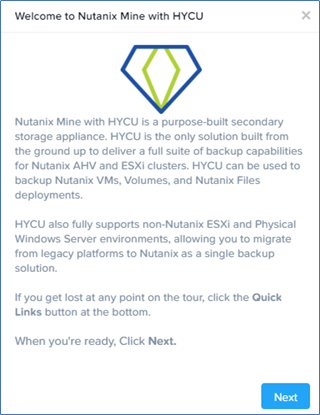
[Welcome to Nutanix Mine with HYCU]の画面です。
Nutanix Prism画面が開きます。
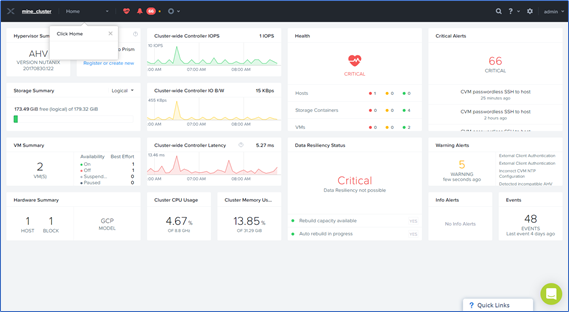
ガイドツアーに従い、設定・操作方法を確認します。
最初はMineクラスタの設定・操作方法になります。
HYCUの実体は仮想アプライアンスで、HYCUバックアップコントローラーVMが作成されていることを確認できます。
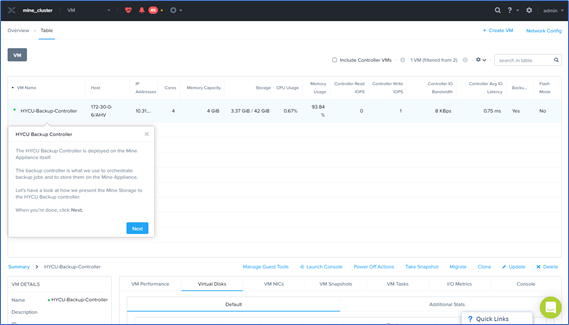
バックアップデータの保存場所となるVolume Groupが作成されています。

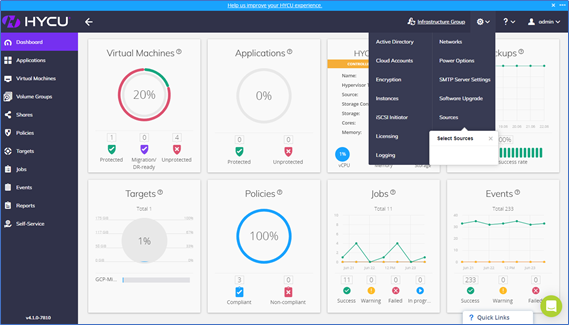
PrismにHYCUダッシュボードが表示されています。バックアップ等のステータスが一目瞭然です。
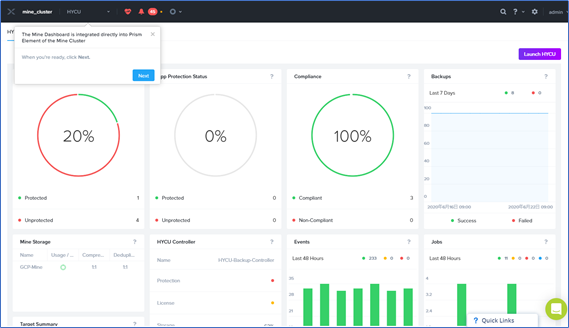
[Click Launch HYCU]ガイド内にある[Next]ボタンをクリックすると、HYCU画面が開きます。
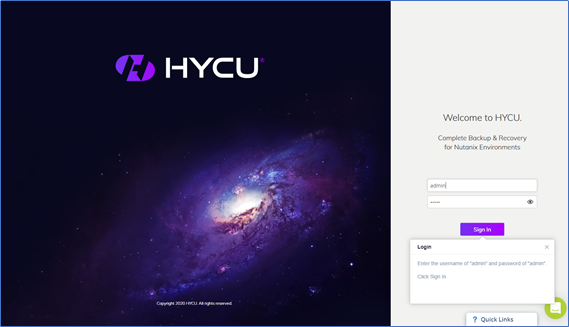
HYCUのログオン画面が開きました。
ユーザ名:admin、パスワード:adminでログオンしています。
保護対象(Source)登録方法に進みます。

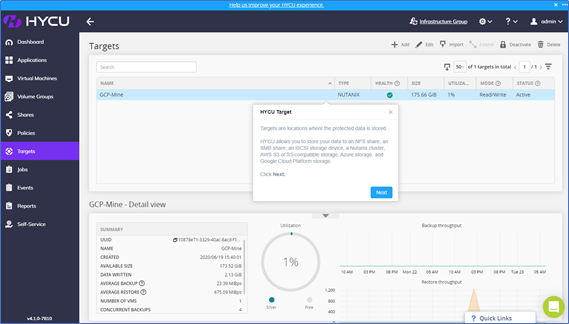
保存場所(Target)としてMineが登録されていることが確認できます。
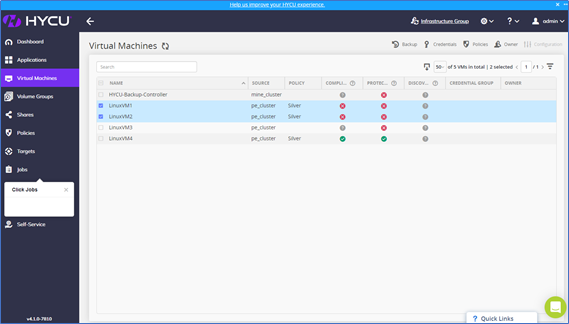
仮想マシンのバックアップを実行し、Job画面で進捗確認ができます。

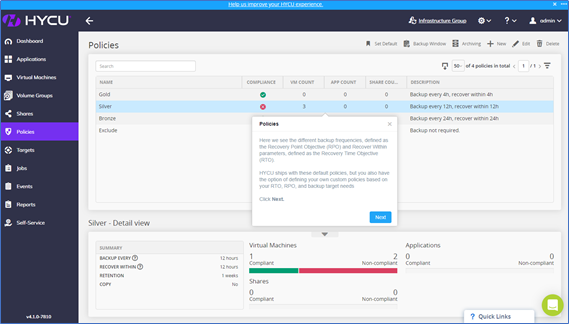
バックアップやアーカイブジョブを決めるルールをポリシーと言いますが、ポリシーを設定する画面が確認できます。
レポート機能、セルフサービス機能、REST APIエクスプローラー等もガイドに従って確認できます。今回は割愛します。
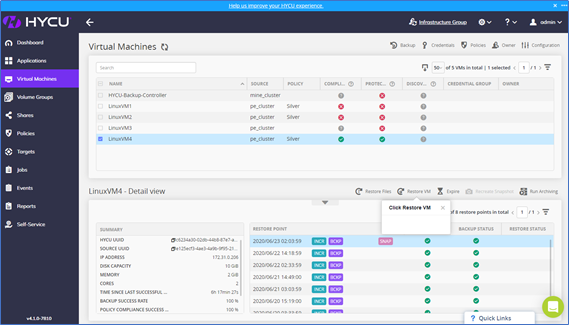
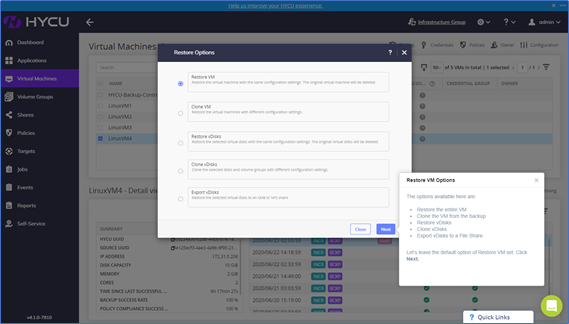
仮想マシンの復元を実行します。
ガイドツアーはこれで終了になります。
まだまだ十分時間があるので、いろいろと試してみるとおもしろいと思います。
環境を準備しなくてもすぐに試せるデモ環境があるというのはとても便利ですね。
詳細についてご興味がございましたら、当ブログにてコメントを頂ければと思います。
どうもありがとうございました。