We are excited to introduce our latest update to Nutanix Test Drive - AI Ops and Automation! This Test Drive allows you to quickly try out capacity planning, playbooks, application automation, and more!
Nutanix Test Drive is a way for you to easily experience the Nutanix platform on your time through your web browser. From this landing page, you can explore different use cases without having to install any software or configure any hardware.
AI Ops and Automation
Start exploring AI Ops and Automation on Nutanix by navigating to the AI Ops & Automation tab on the Nutanix Test Drive landing page.
Once you are logged in, you will be presented with the Automate Operations menu.
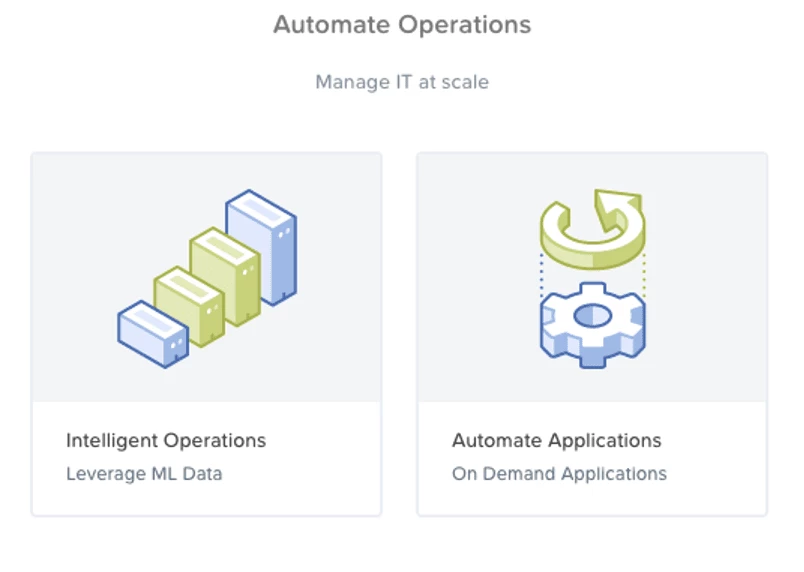
If you don’t see this menu for any reason, you can navigate to it from the main menu by clicking on Automate Operations -> IT Automation.
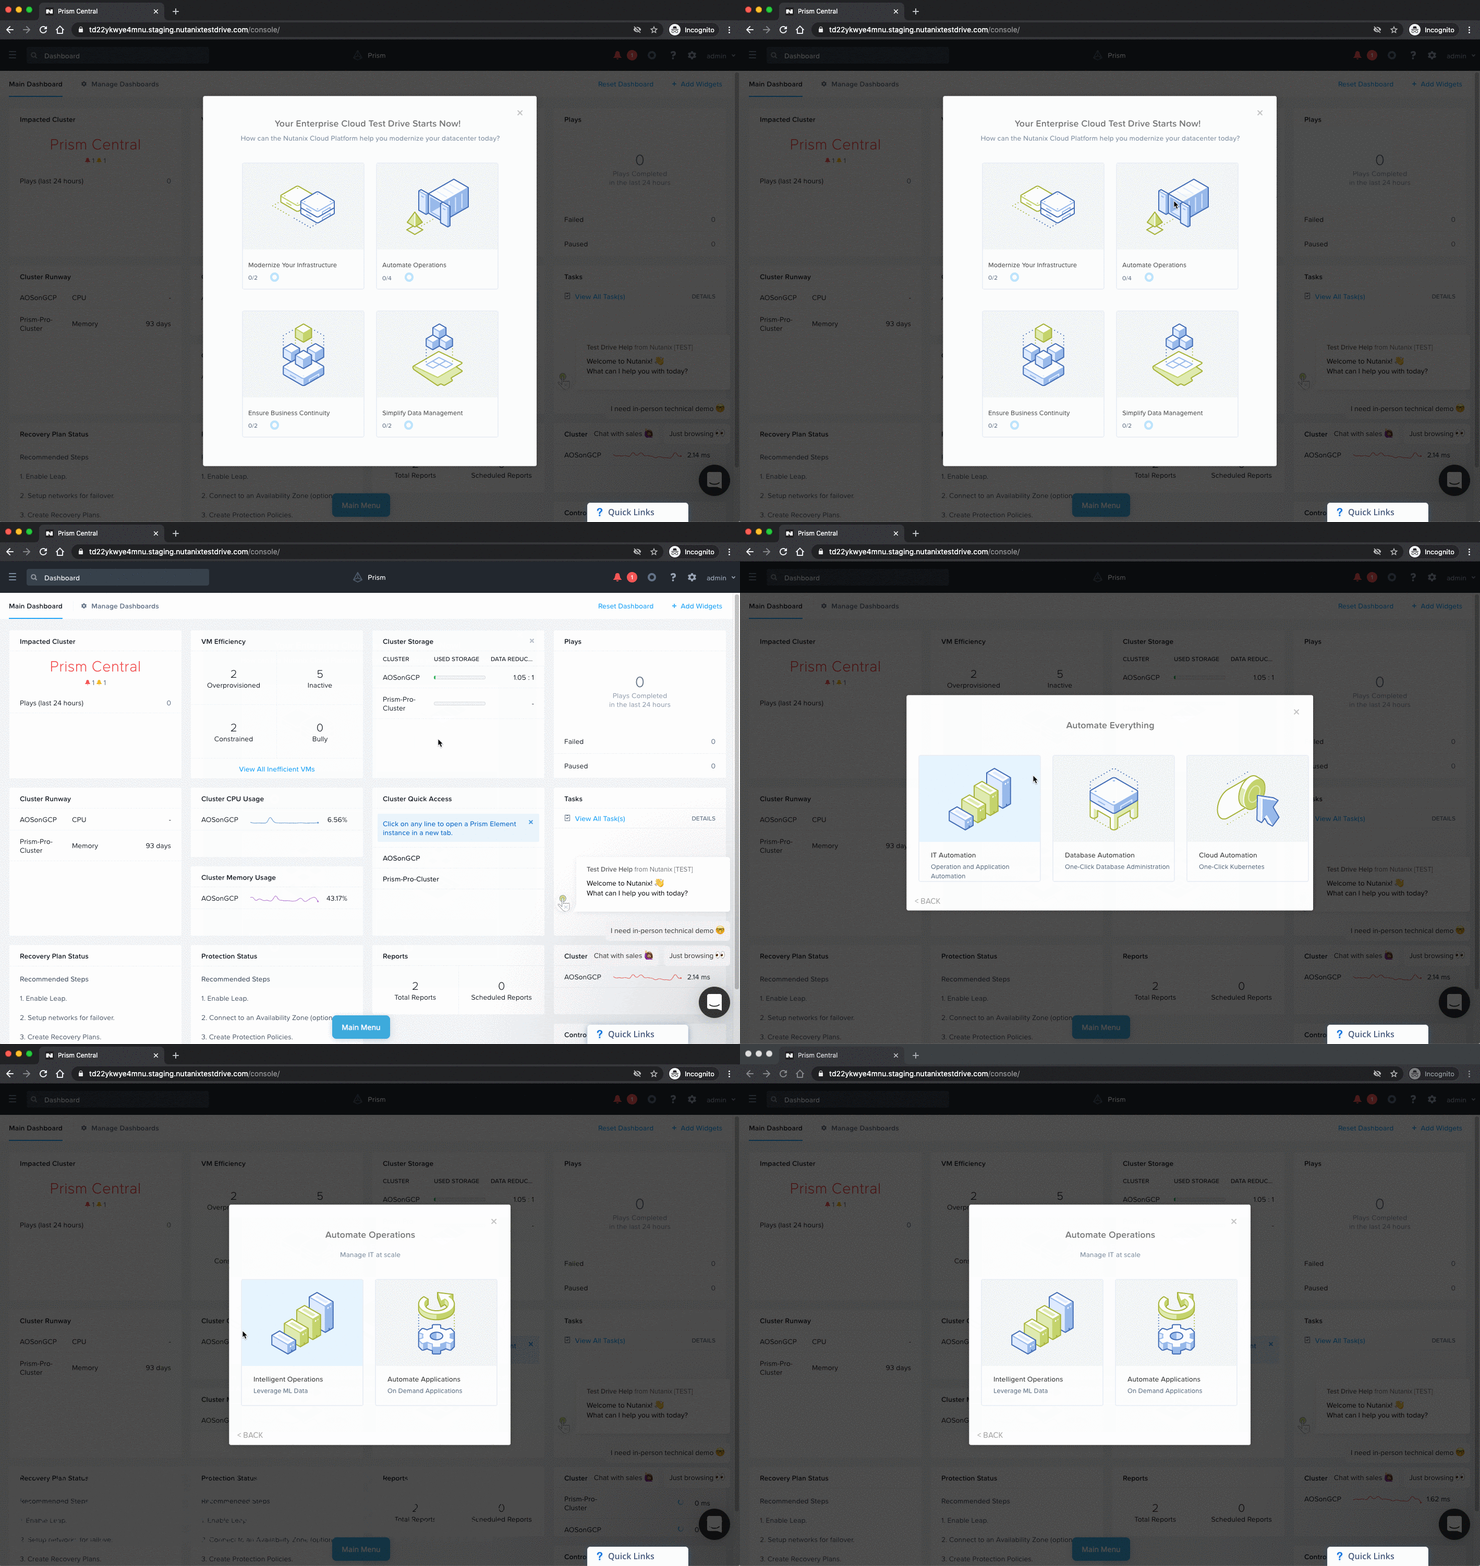
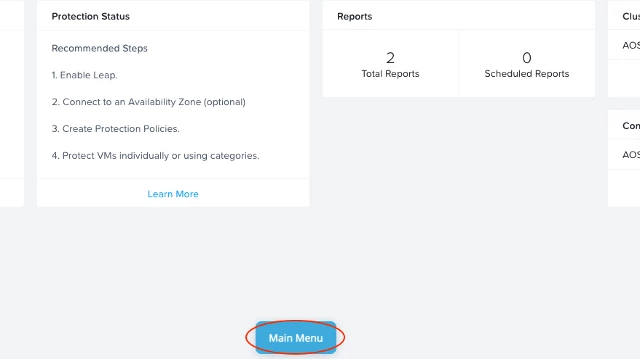
Note: At any point during the guided tour, you can exit the tour by clicking the X in the top-right corner of the current window. You can return to the guided tour by clicking on the Main Menu button at the bottom of any screen.
Intelligent Operations
The Intelligent Operations tile focuses on Nutanix Prism’s machine learning (ML) and automated task capabilities.
The three guided tours under this tile walk you through:
- How to view the efficiency of your VMs and how Prism highlights inefficient VMs (Find Inefficiencies)
- Using capacity planning to determine when you’ll need to add more resources (Plan for the Future)
- Configuring playbooks to automatically perform actions in response to alerts or events (Automated Response)
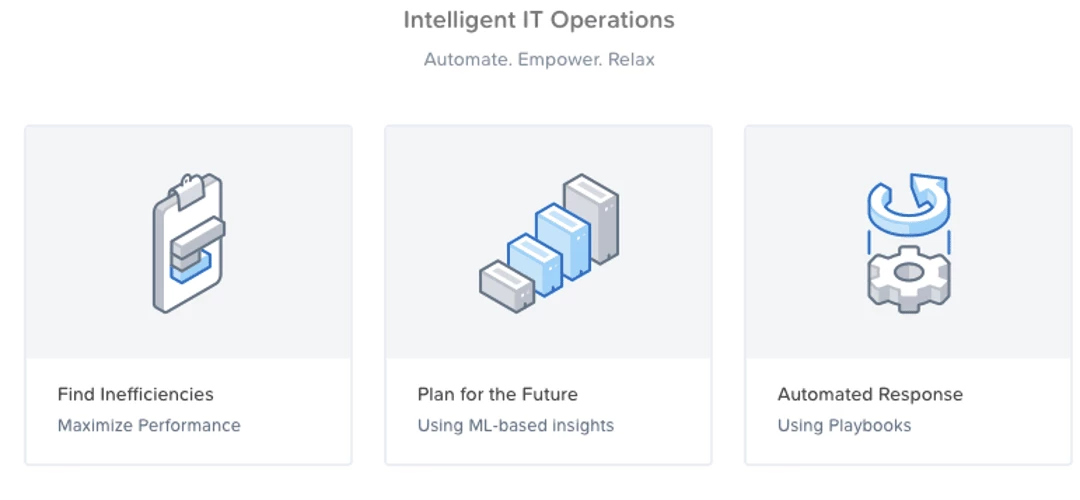
Find Inefficiencies
Prism includes ML capabilities that analyze resource usage and can monitor resource consumption and identify abnormal behavior. Prism continually analyzes VMs and flags them as abnormal if they fall outside their expected range.
In this module, you explore the different types of VM inefficiency that Prism can detect automatically and alert you to. VMs can be in one of following the 5 profiles:
- Bully: A VM that consumes too many host resources for over an hour, potentially starving other VMs.
- Constrained: A VM that does not have enough resources for demand.
- Overprovisioned: A VM that is oversized; the opposite of a constrained VM.
- Inactive: a VM that has been powered off for more than 30 days, or does fewer than 30 IOPs, and whose storage throughput is less than 1 KiB per day.
- Good: None of the above issues detected

Plan for the Future
In this module, you see how Prism uses advanced analytics to predict growth over time, recommend new hardware options to meet your projected resource needs, and plan out “what-if” scenarios if you were to add additional workloads. It also provides the option to generate a PDF report outlining the proposal.

Automated Response
The X-Play feature can automate tasks based on events, using playbooks. X-Play performs a variety of actions, including VM actions (updating resources, powering off or on), making API calls, integrating with 3rd party tools, and much more.
In this module, you set up a playbook step-by-step to generate a report and email you when an alert is triggered. You’ll also simulate the alert so that you can see the playbook in action!
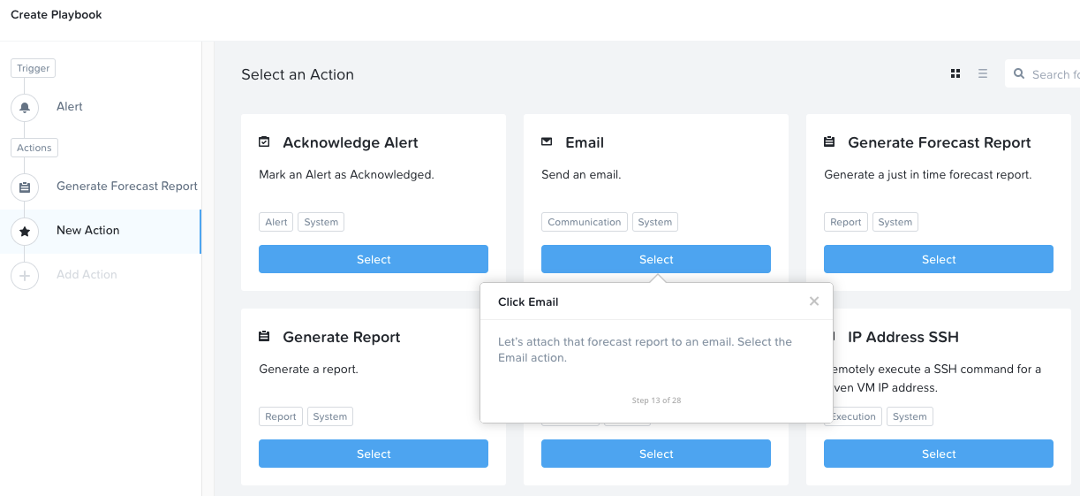
You can also try out other actions and see how they work! There are endless possibilities of different playbooks that can be created. Take a look at the Prism Pro: Smart IT Operations playlist on Youtube to learn more, and keep an eye out for a new blog post on this topic soon!
Automate Applications
The Automate Applications tile focuses on Calm, which is a multi-cloud application lifecycle manager. Calm allows you to model your applications in easy-to-consume blueprints, deploy them anywhere, and manage them throughout their entire lifecycle.
The three guided tours underneath this tile walk you through:
- How easy it is to launch a pre-built application (Deploy Applications)
- Create an application blueprint to perform any action (Create App Blueprints)
- Publish an application for other users to access (Empower Users)
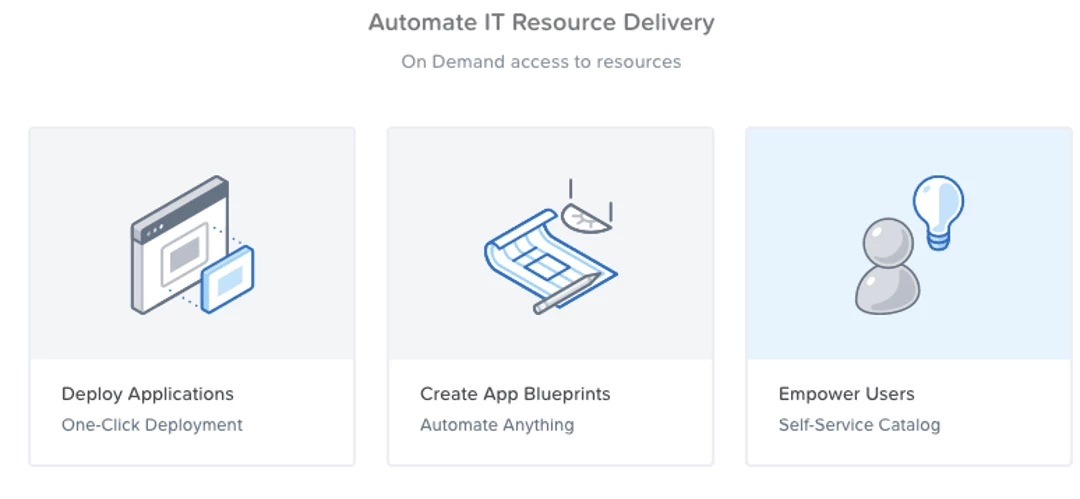
Deploy Applications
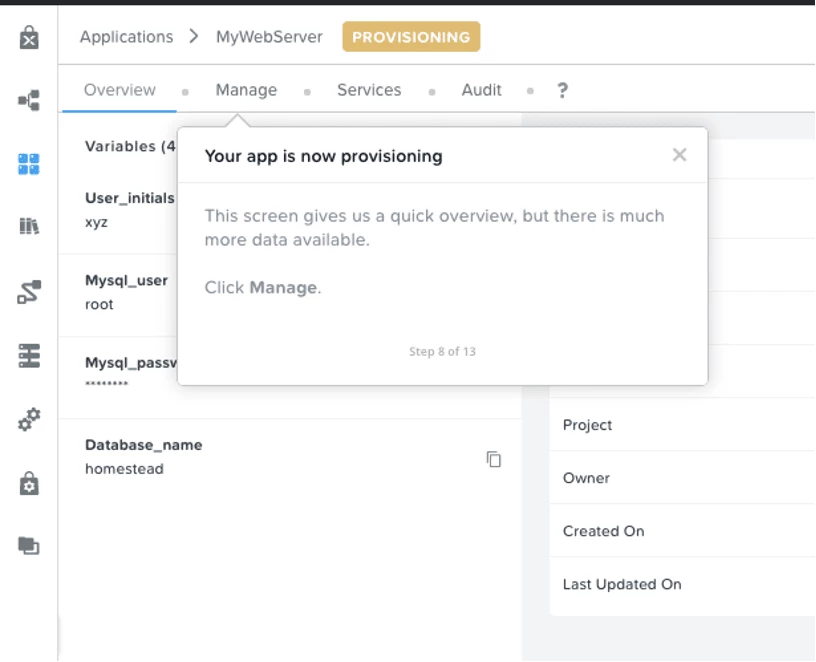
In the Deploy Applications module, you see how easy it is to spin up a new application using Calm. You’ll launch an application, which was configured and published to the Marketplace by our administrator, available for you and other users to deploy. In just a couple of clicks, you have a preconfigured webserver ready to go with no configuration needed on your part.
Create App Blueprints
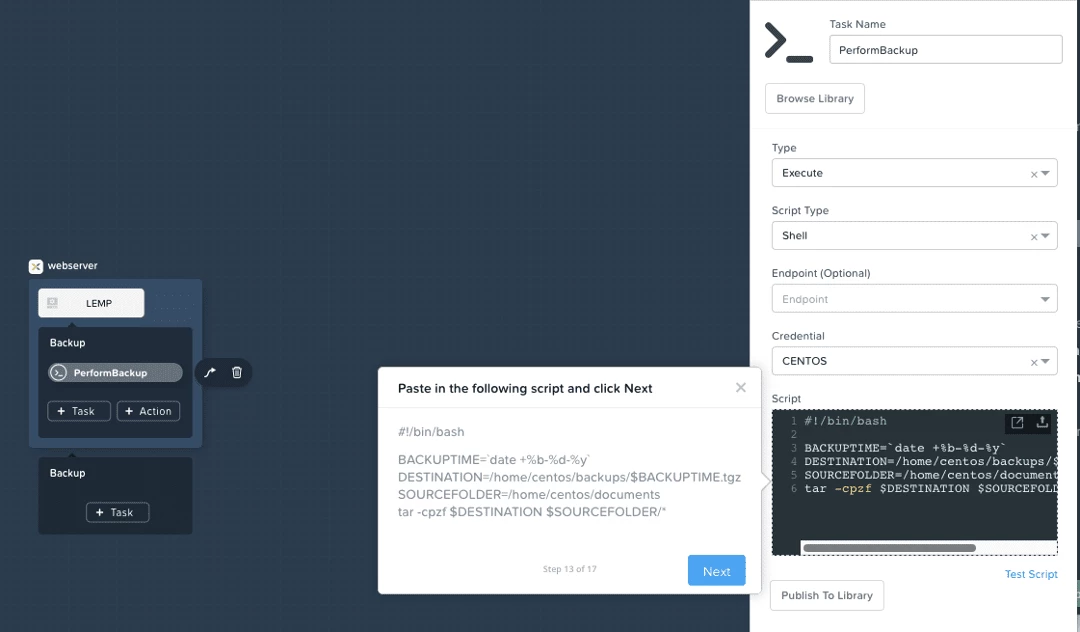
In this module, you make edits to an existing application blueprint. A blueprint defines your applications (or infrastructure), which allows you to repeatedly launch these blueprints to deploy applications or infrastructure on various clouds, and manage these applications through their entire lifecycle.
In this module, you see how you can add an automated task to an existing blueprint. Once the task is added to the blueprint, it is available in the application to be run on-demand as a Day-2 action.
Empower Users
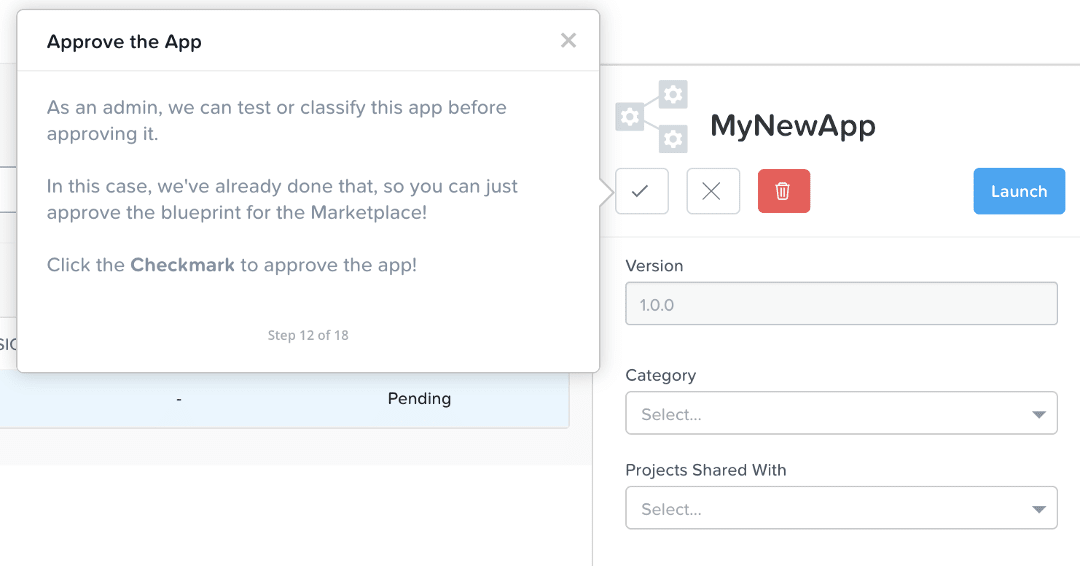
As we saw from the end-user perspective in the Deploy Applications module, preconfigured applications or infrastructure can be deployed from the Calm marketplace. In the Create App Blueprints module, we modified an existing blueprint to add in a task to perform a backup of the server. The third step is to publish this new blueprint as a new application to the marketplace so that end users can access the new backup task as a Day-2 action that they can perform.
In this module, you’ll perform the role of the admin and publish your modified blueprint as a new application to the marketplace, ready to be launched by end users!
Tips & Tricks
- If you want to start over, feel free to X out of the current step and click on the Main Menu button at the bottom.
- This is a live, fully functional system, so once you are done with the walkthroughs, feel free to explore on your own for the remainder of the time.
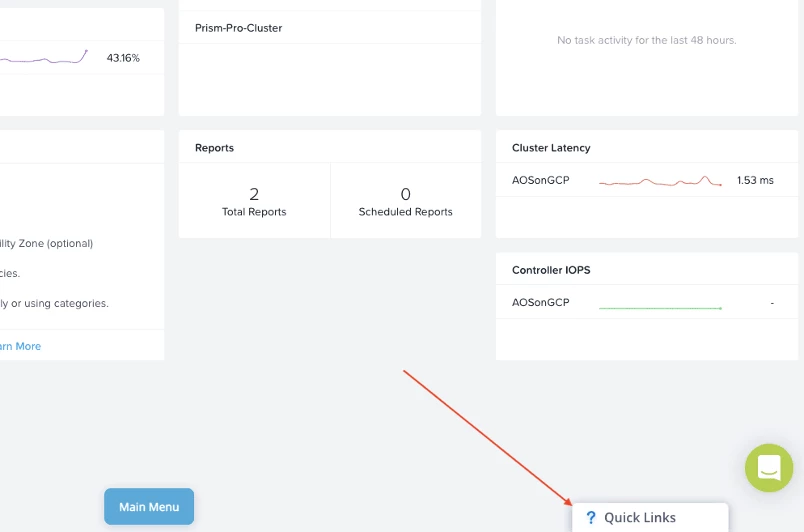
- Click the Quick Links menu at the bottom right of the screen to quickly jump to different guided tours and deep dives.
- Get help from a Nutanix expert using the chat function, available to the right of the Quick Links menu.
Join the Community
Be sure to join the conversation at our NEXT Community Forums!
To learn more about AI Ops and Automation, please check out the following resources:
- Nutanix Developers Community (code samples and API reference)
- Nutanix Prism
- Nutanix Calm
- YouTube Nutanix Prism Pro: Smart IT Operations Playlist
We are continuing to expand the experiences offered in Nutanix Test Drive, so stay tuned for what’s to come! Check it out now at www.nutanix.com/testdrive!
This post was authored by Laura Jordana, Principal Technical Marketing Engineer
© 2021 Nutanix, Inc. All rights reserved. Nutanix, the Nutanix logo and all Nutanix product, feature and service names mentioned herein are registered trademarks or trademarks of Nutanix, Inc. in the United States and other countries. All other brand names mentioned herein are for identification purposes only and may be the trademarks of their respective holder(s). This post may contain links to external websites that are not part of Nutanix.com. Nutanix does not control these sites and disclaims all responsibility for the content or accuracy of any external site. Our decision to link to an external site should not be considered an endorsement of any content on such a site. Certain information contained in this post may relate to or be based on studies, publications, surveys and other data obtained from third-party sources and our own internal estimates and research. While we believe these third-party studies, publications, surveys and other data are reliable as of the date of this post, they have not independently verified, and we make no representation as to the adequacy, fairness, accuracy, or completeness of any information obtained from third-party sources.

