


If your Nutanix infrastructure resides in an environment that includes an HTTP proxy, you’ll need to understand the HTTP proxy and proxy whitelist configurations in Prism. This is especially important if your cluster is registered to Prism Central. If the proxy setting and proxy whitelist are configured incorrectly, communication between PE and PC could be unreliable or entirely unusable.
A note of clarification: in this post we discuss network communication inside and outside an environment. To prevent any confusion, the “environment” refers to the internal network, either physical local LAN, VLAN, or VPN, which is separated from other systems and the internet by a firewall and proxy. Anything within the environment is “local” and anything past the firewall is “external”.
So, why does this matter?
If your environment has an HTTP proxy there is probably also a firewall rule blocking any HTTP(S) traffic that is not going through the proxy. Without proxy configuration in this kind of environment, external HTTP communication is blocked. The 1-click upgrade UI is unable to display or download newer AOS, Foundation, and NCC versions. Life Cycle Manager (LCM) could run an inventory but firmware and software updates would need to be hosted inside the environment using the dark-site bundle. Pulse HD data used for identifying potential cluster issues, usually sent via HTTPS, would get blocked by the firewall. To get these features working the proxy configuration needs to be added in Prism.
Once the proxy configuration is set, all HTTP communication initiated by Prism will be sent through the proxy server. This does not affect CVM to CVM communications, but any HTTP(S) connections from Prism will be routed through the proxy until a whitelist entry indicates otherwise, even if the destination IP is in the local subnet. This can cause PE/PC communication to fail, so for this we need the whitelist configuration.
First, let’s review the HTTP proxy setting.
This setting affects Prism services on the Nutanix cluster or Prism Central instance only. Changes to this setting will not affect hosted VMs, data service, or other services on the Nutanix cluster.
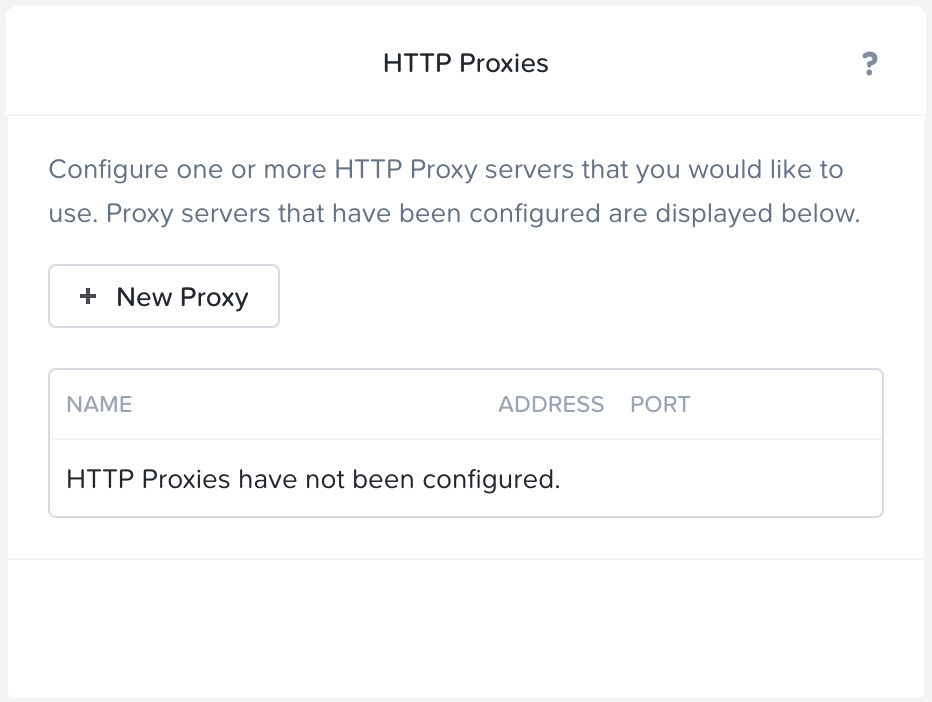
To configure an HTTP Proxy on Prism Element or Prism Central, go to Settings and click HTTP Proxy under the Network heading in the left sidebar, then click “+ New Proxy”. The Create HTTP Proxy UI appears.
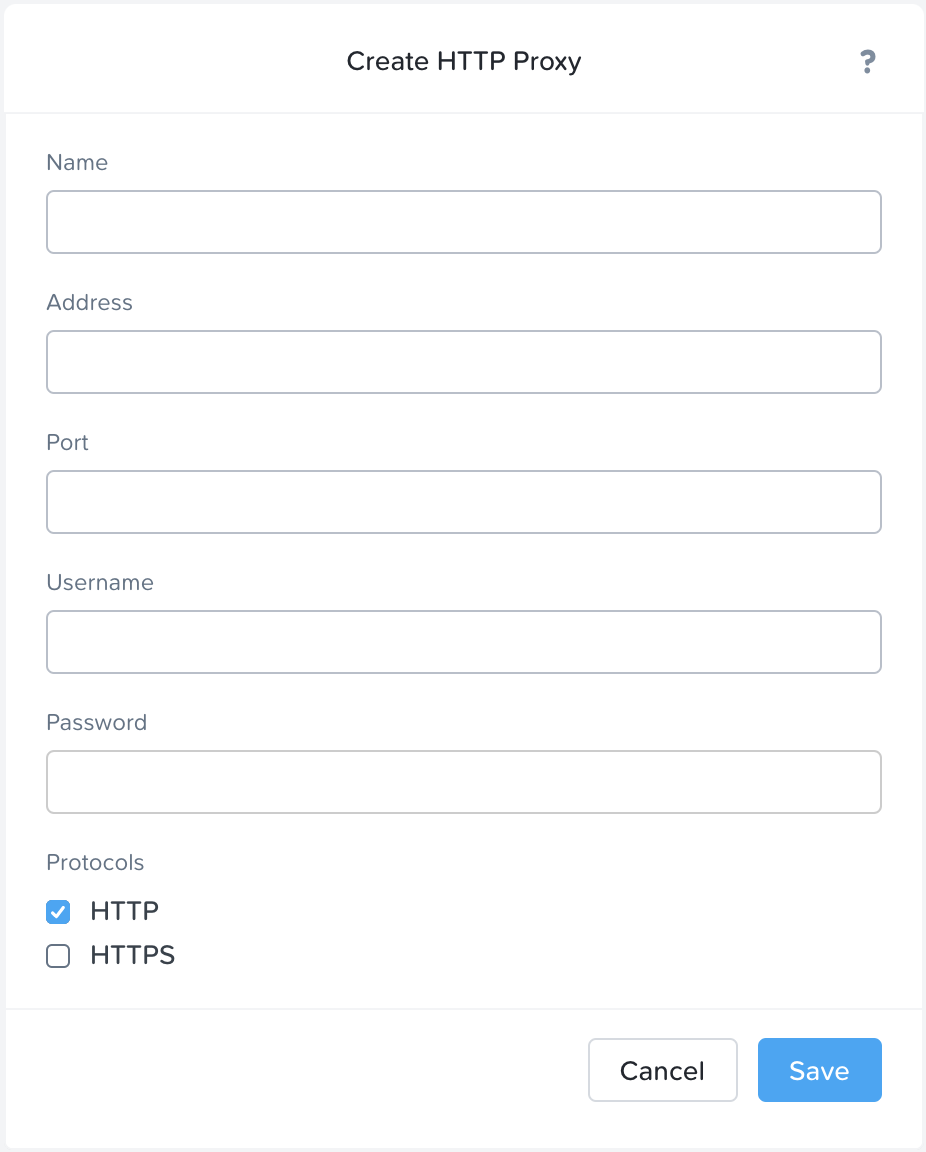
Fill out the information in the fields provided. Username and Password can be skipped unless your proxy requires authentication. Click save to finish this step.
Now to the whitelist settings.
You likely do not need to add any whitelist entries if your Prism Element cluster is not registered with Prism Central. For Prism Element on its own, add a whitelist entry for any hosts Prism will need to reach internally using HTTP(S).
If we are working on Prism Central, or on a cluster registered to Prism Central we almost certainly need to add whitelist entries. An exception would be if Prism Central can only be reached by Prism Element through the proxy vice versa.
A whitelist entry is a single host identified by IP address or a network identified by the network address and subnet mask. Adding a whitelist entry means “ignore proxy settings for this address or network”.
I would generally recommend adding subnets rather than host records. This saves time, provides reliability, and is functionally future-proofed in case you add new nodes, scale out Prism Central, or add another cluster later.
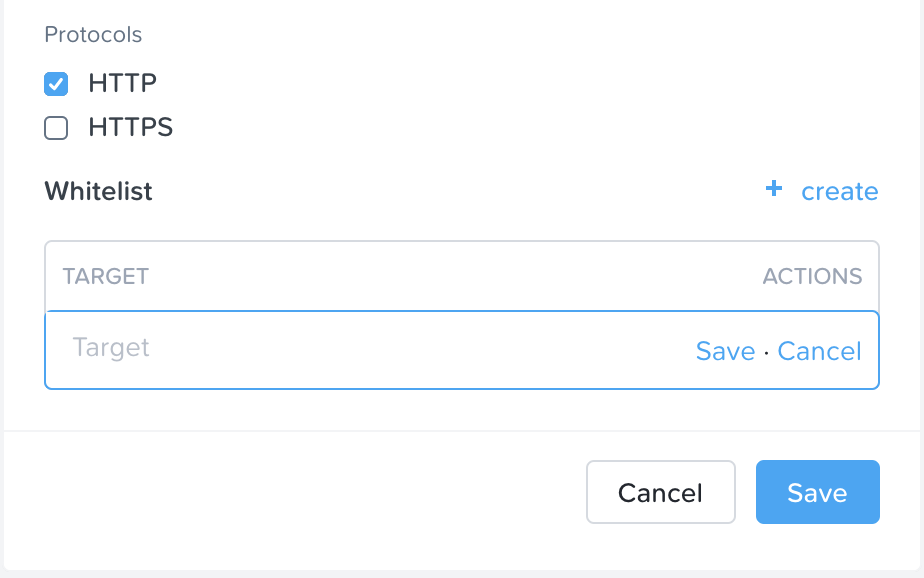
To add a whitelist entry, find the edit icon next to the Proxy entry you just added. In the Update HTTP Proxy UI that appears you will see the settings you recently entered as well as a new section at the bottom, Whitelist. Click Create to add the first whitelist entry.
If you want to whitelist a single IP address, just enter the address. For example, you could enter “10.20.30.123” and click save, and then any HTTP(S) traffic to that IP address would be sent directly rather than through the proxy.
To whitelist an entire subnet, provide the network address and the subnet mask. The format you’ll want is like this: “10.20.30.0/255.255.255.0”. Once this entry is added and the configuration is saved, all communication to the 10.20.30.0/24 subnet will be sent directly rather than routing through the proxy.
From Prism Element add all the IPs owned by Prism Central. From Prism Central add an entry for the cluster virtual IP of each registered cluster, as well as an entry for every CVM in the cluster. Again, you can whitelist a network to save time and ensure that any nodes added into the network later are also whitelisted.
Steps to set up the proxy and whitelist are documented in the Prism Web Console Guide and the Prism Central Guide.