


This blog was authored by Michael Haigh Technical Marketing Engineer Nutanix
At KubeCon North America 2019 in San Diego, JFrog announced the availability of the JFrog Container Registry, which enables users to securely store, manage, and control their Docker containers and Helm charts, at no cost. Container registries are one of the most fundamental components for building Cloud Native applications and enabling Continuous Integration / Continuous Delivery in your environment, so it’s critical to choose a proven, secure, and reliable platform like JFrog. JFrog has become a household name for many cloud-native enterprises, and is an industry leader in CI/CD and DevOps with its large portfolio of products, including JFrog Artifactory.
Pairing JFrog with Nutanix Karbon, gives you a production grade container registry in minutes, enabling your business to quickly react to changing landscapes. In this post, we will cover a couple of pre-requisites, we’ll then deploy JFrog Container registry onto Karbon with a Helm chart, and we’ll wrap things up by pushing a Docker container to the repository and then deploy that container onto our Kubernetes cluster.
Pre-requisites
This blog assumes you have deployed a Nutanix Karbon Kubernetes cluster, and have enabled both Helm and MetalLB. If you’ve never used Helm or MetalLB, please check out the following Nutanix Community Blog posts:
- Tillerless Helm on Nutanix Karbon
- Utilizing MetalLB to Provide LoadBalancer Services for Nutanix Karbon
Before we install the JFrog Container Repository via Helm, there are a couple of configuration choices that must be made. The most important choice is whether you’re providing valid SSL certificates or not. If you’re not aware, by default, the docker client requires valid SSL certificates in order to function, otherwise workarounds must be applied. For this reason, it is strongly recommended that you work with your security team or IT team that owns your Certificate Authority, and have them provision a certificate and key for the JFrog Container Registry.
If this is not possible, we’ll cover how to create a certificate by using cfssl here. If you are following the recommended procedures and using a valid SSL certificate, please skip ahead to the Installation section.
First, create a Certificate Authority config file by running the following command:
$ cat << EOF > ca-config.json
{
    "signing": {
        "default": {
            "expiry": "43800h"
        },
        "profiles": {
            "server": {
                "expiry": "43800h",
                "usages": [
                    "signing",
                    "key encipherment",
                    "server auth"
                ]
            },
            "client": {
                "expiry": "43800h",
                "usages": [
                    "signing",
                    "key encipherment",
                    "client auth"
                ]
            }
        }
    }
}
EOF
Feel free to customize the above file to suit your needs. Next, create a Certificate Signing Request by customizing the following json to your organization’s values, and then running the cfssl gencert initca command.
$ cat << EOF > ca-csr.json
{
    "CN": "My own CA",
    "key": {
        "algo": "rsa",
        "size": 2048
    },
    "names": [
        {
            "C": "US",
            "L": "CA",
            "O": "My Company Name",
            "ST": "San Francisco",
            "OU": "Org Unit 1",
            "OU": "Org Unit 2"
        }
    ]
}
EOF
$ cfssl gencert -initca ca-csr.json | cfssljson -bare ca -
The last command will result in the output of three files:
- ca-key.pem: this must be stored in a secure location, as it can be used to create any number of certificates within your Certificate Authority
- ca.csr: this is not needed, and can be destroyed
- ca.pem: this is used by client side machines to validate the chain of certs trusted by the CA, and should be distributable internally
Next, we’ll create a server config json (which describes our JFrog Container Repository certificate), and use that along with our previously-generated files to create our server certificate and key. Be sure to substitute the example hostnames with the proper values pertaining to your environment.
$ cat << EOF > server.json
{
    "CN": "artifactory.example.net",
    "hosts": [
        "artifactory.example.net",
        "www.artifactory.example.net"
    ],
    "key": {
        "algo": "ecdsa",
        "size": 256
    },
    "names": [
        {
            "C": "US",
            "L": "CA",
            "ST": "San Francisco"
        }
    ]
}
EOF
$ cfssl gencert -ca=ca.pem -ca-key=ca-key.pem -config=ca-config.json -profile=server server.json | cfssljson -bare server
The last command will again generate three files, two of which (server-key.pem and server.pem) we’ll use in the next section.
Installation
Now that you’ve set up Helm and MetalLB on your Nutanix Karbon Kubernetes cluster, you can add JFrog’s Helm chart repository.
$ helm repo add jfrog https://charts.jfrog.io
$ helm repo update
Next, we’ll create a Kubernetes Secret which contains our SSL certificate and key:
$ kubectl create secret tls artifactory-tls --cert=path/to/server.pem --key=path/to/server-key.pemThe last step prior to creating our JFrog Container Registry instance is to define our helm values.yaml file. While all of these flags could be supplied via the CLI at creation time, it is recommended to create a configuration file which is then stored in source control for better management.
$ cat << EOF > jfrog-values.yaml
artifactory:
  artifactory:
    persistence:
      size: 256Gi
  nginx:
    tlsSecretName: artifactory-tls
EOF
Two items of note: first, we’re increasing the size of the persistent volume (since Nutanix storage is thin-provisioned, there’s no harm in using a larger volume). Second, we’re calling out our previously-created Secret. Feel free to customize the above file with any values that you desire. For example, you could utilize S3 compatible Nutanix Objects to provide massively scalable persistent storage.
We’re now ready to install the JFrog Container Registry, which you can do with the following command:
$ helm install --name jfrog-container-registry -f jfrog-values.yaml jfrog/artifactory-jcrThe output of the above command will contain a list of all of the Kubernetes objects created. After several minutes, verify that all the necessary pods are in a ready state and running:
$ kubectl get pods
NAME                                                               READY   STATUS      RESTARTS   AGE
jfrog-container-registry-artifactory-0                             1/1     Running     0          3m2s
Jfrog-container-registry-artifactory-nginx-5d8dfbb96d-rnfnm        1/1     Running     1          3m2s
jfrog-container-registry-postgresql-0                              1/1     Running     0          3m2s
To access your new JFrog Container Registry run the following command to view the external-ip. As a reminder, the external IP is made possible by MetalLB, so if your service’s external IP is blank, please investigate your MetalLB configuration.
$ kubectl get svc jfrog-container-registry-artifactory-nginx
NAME                                         TYPE           CLUSTER-IP     EXTERNAL-IP    PORT(S)                      AGE
jfrog-container-registry-artifactory-nginx   LoadBalancer   172.19.82.79   10.X.Y.Z       80:30000/TCP,443:30720/TCP   4m48s
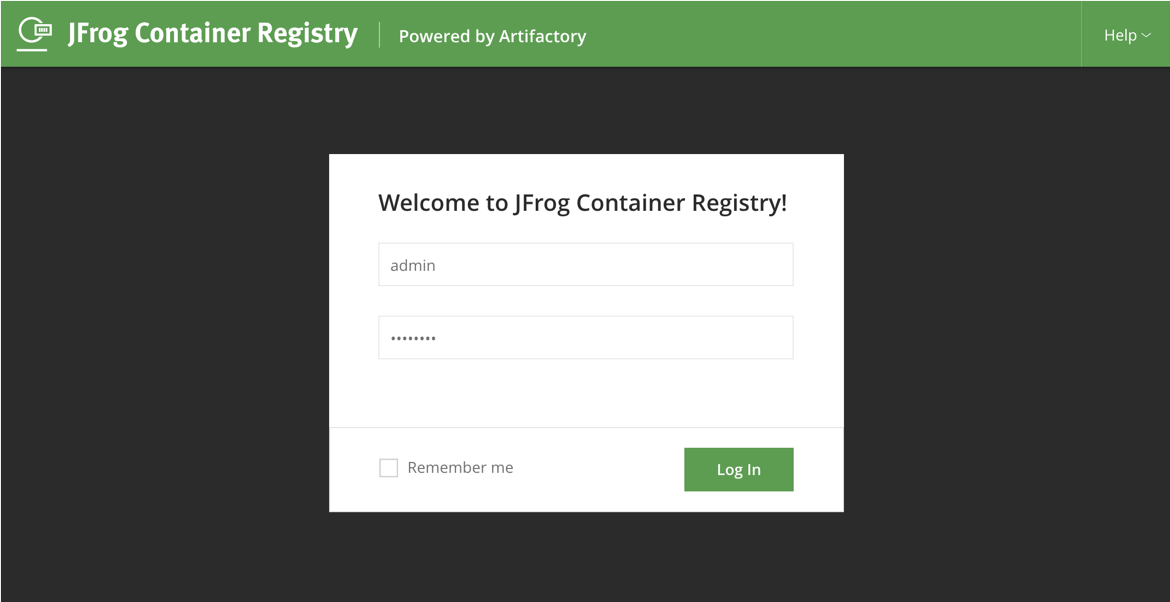
Enter in the corresponding hostname defined in your DNS for your external IP, where you’ll be asked to log in (the default credentials are admin / password):
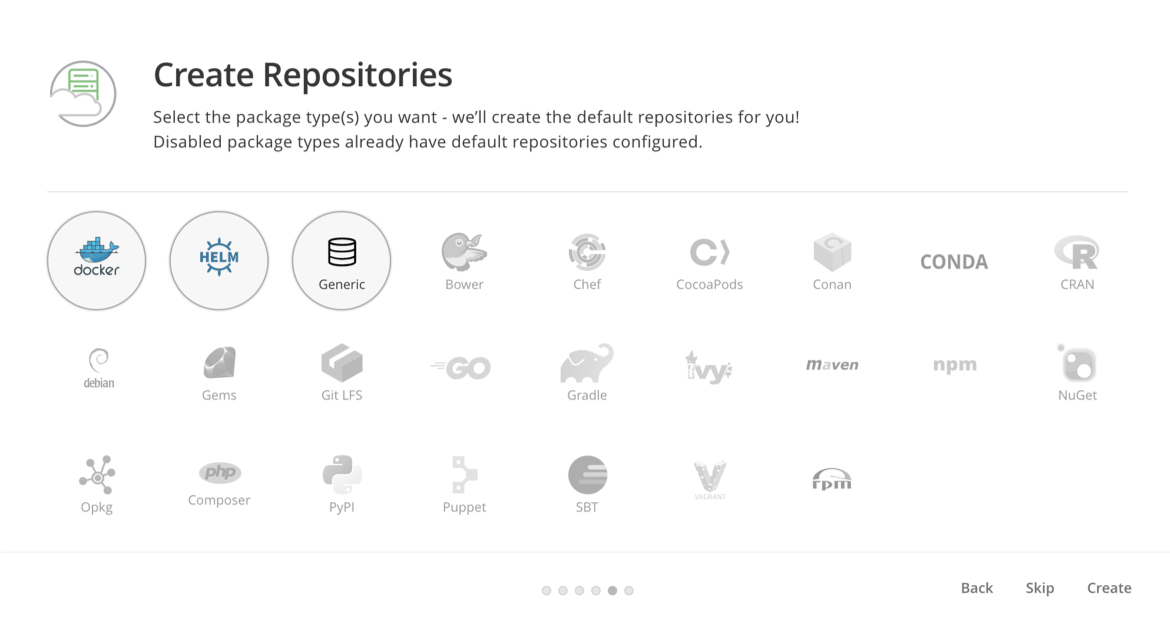
After you log in, a ‘getting started’ wizard will appear. Click Next, where you’ll be prompted to accept a EULA. Once accepted, optionally fill out the next several pages, until you arrive on the Create Repositories page. Be sure to at least select ‘Docker’, and hit Create:
On the final page of the wizard, click Finish, and you should be presented with the JFrog Container Repository UI. As a first step, we recommend you change the default admin password by clicking on the Welcome, Admin > Edit Profile link in the upper right. After that, go ahead and browse through the various pages to acquaint yourself with the user interface. You now have a production grade Container Repository up and running, and all that’s left is to start using it!
Using JFrog Container Repository
Now that we have successfully deployed JFrog container repository, let’s push a docker image to it. From your local workstation, run the following commands, and be sure to substitute in your Container Registry name in the first step. If you generated your own certificates, you’ll need to import your root CA certificate, or your server certificate into your workstation.
$ export JFROG="artifactory.example.net"
$ docker pull nginx
$ docker login -u admin ${JFROG}
$ docker tag nginx:latest ${JFROG}/docker/nginx:latest
$ docker push ${JFROG}/docker/nginx:latest
To summarize these steps, we pulled the latest nginx image from DockerHub, logged into our local Container Repository, tagged the downloaded image with our local Container Repository, and finally pushed that image to our local Container Repository.
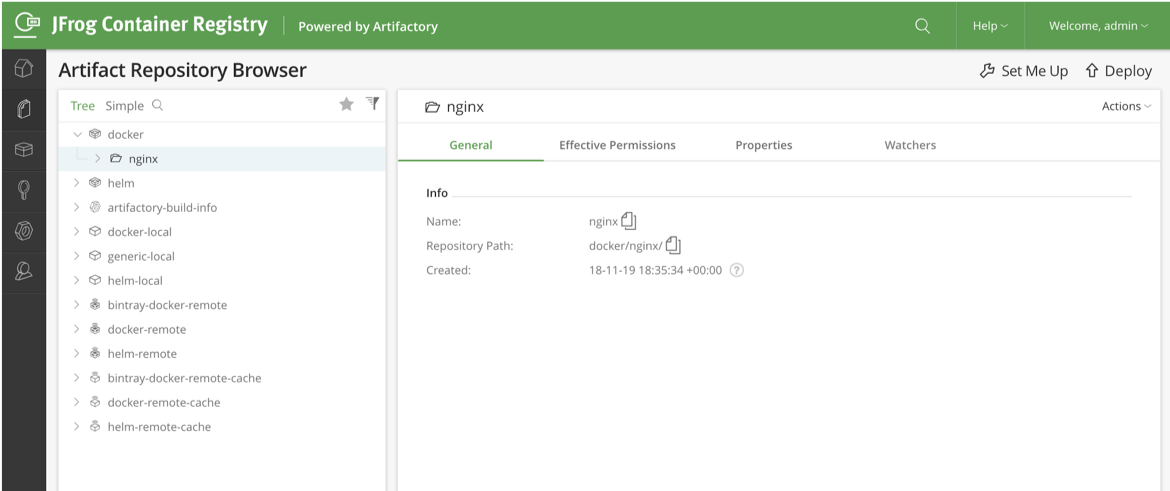
Back in the JFrog UI, you should see our new nginx image in the repository browser:
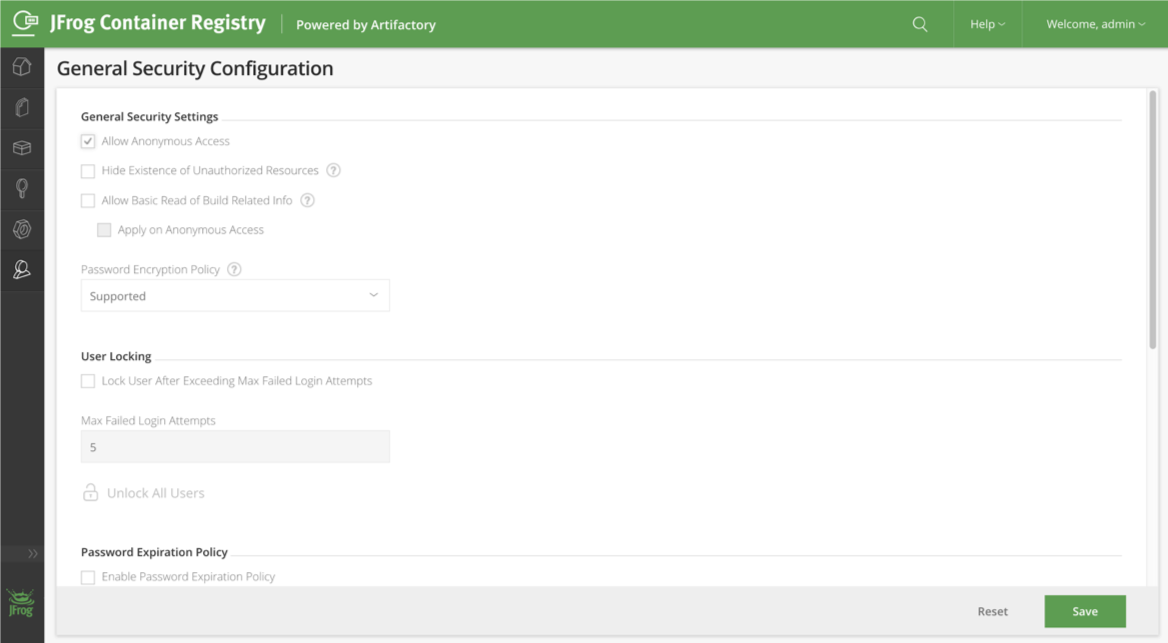
On a fresh installation, JFrog requires credentials to pull an image from the container repository. This means we either must create a Kubernetes Secret and reference that Secret in the pod or deployment spec, or we can enable anonymous pulling on JFrog under Admin > Security Configuration:
Lastly, we’ll create a Kubernetes pod which uses our nginx image. The following two commands will create our pod yaml definition, and deploy the pod. If you opted for using a Repository Secret rather than enabling Anonymous Access, be sure to add the imagePullSecrets secrets field to the definition.
$ cat << EOF > nginx-pod.yaml
apiVersion: v1
kind: Pod
metadata:
  name: nginx-demo
spec:
  containers:
  - name: nginx
    image: ${JFROG}/docker/nginx:latest
EOF
$ kubectl apply -f nginx-pod.yaml
If everything up to this point was completed successfully, we should be able to view the running nginx pod, and view the events of the pod creation:
$ kubectl get pod nginx-demo
NAME         READY   STATUS    RESTARTS   AGE
nginx-demo   1/1     Running   0          4m39s
$ kubectl describe pod nginx-demo
[output truncated]
Events:
  Type    Reason     Age    From                                       Message
  ----    ------     ----   ----                                       -------
  Normal  Scheduled  4m42s  default-scheduler                          Successfully assigned default/nginx-demo to karbon-jfrog-afa739-k8s-worker-0
  Normal  Pulling    4m39s  kubelet, karbon-jfrog-afa739-k8s-worker-0  Pulling image "artifactory.example.net/docker/nginx:latest"
  Normal  Pulled     4m36s  kubelet, karbon-jfrog-afa739-k8s-worker-0  Successfully pulled image "artifactory.example.net/docker/nginx:latest"
  Normal  Created    4m36s  kubelet, karbon-jfrog-afa739-k8s-worker-0  Created container nginx
  Normal  Started    4m35s  kubelet, karbon-jfrog-afa739-k8s-worker-0  Started container nginx
Summary
With JFrog Container Registry and Nutanix Karbon, you can provide a robust, secure, production-grade container repository for your organization in minutes, all without any additional cost. This will help you and your organization on their journey to develop cloud-native applications, implement CI/CD, and achieve DevOps outcomes.
©️ 2019 Nutanix, Inc. All rights reserved. Nutanix, the Nutanix logo and all Nutanix product and service names mentioned herein are registered trademarks or trademarks of Nutanix, Inc. in the United States and other countries. All other brand names mentioned herein are for identification purposes only and may be the trademarks of their respective holder(s). This article may contain links to external websites that are not part of Nutanix.com. Nutanix does not control these sites and disclaims all responsibility for the content or accuracy of any external site. Our decision to link to an external site should not be considered an endorsement of any content on such a site. Certain information contained in this article may relate to or be based on studies, publications, surveys and other data obtained from third-party sources and our own internal estimates and research. While we believe these third-party studies, publications, surveys and other data are reliable as of the date of this article, they have not independently verified, and we make no representation as to the adequacy, fairness, accuracy, or completeness of any information obtained from third-party sources.
