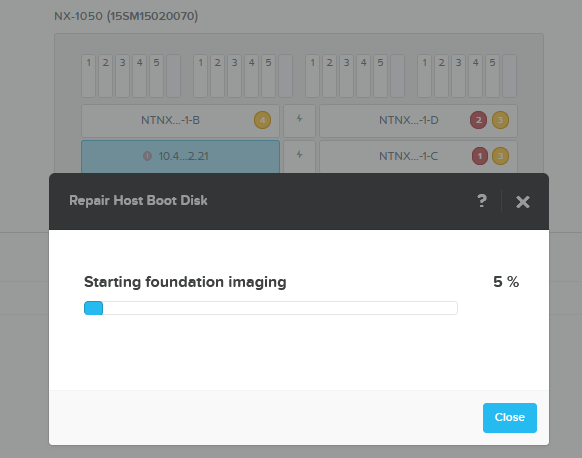
I`ve replaced the SATADOM of one of the four hosts in my NX-1050. After starting from the pnoenix.iso, the repair host disk has been stuck like this for 24 hours.
The host_bootdisk_repair_status says it`s at “sm_trigger_imaging” state.
The first thing I would like to do is kill the current repair job since it`s most certainly hanging. How can I do that and what further steps should I take to try and get the host back online?
Thank you.
Page 1 / 1
Small update, my older environment does not have the ‘ ergon_update_task ‘ command, but I am able to list the stuck tasks:
cli task.list
Task UUID                             Parent Task UUID                      Component      Sequence-id  Type                                   Status
d0784611-75bb-4cfa-99dd-36d6ab8e9039                                        infra          5            host_bootdisk_repair_precheck          kRunning
eb5db992-c5cb-441c-b8a5-b9da016ea89a                                        infra          4            host_bootdisk_repair                   kRunning
Killing them however does not work.
cli task.cancel task_list=d0784611-75bb-4cfa-99dd-36d6ab8e9039
Task cancel for UUID: d0784611-75bb-4cfa-99dd-36d6ab8e9039: pending
Task cancel for UUID: d0784611-75bb-4cfa-99dd-36d6ab8e9039: complete
It says complete, but the task remains in the list as kRunning.
Update,
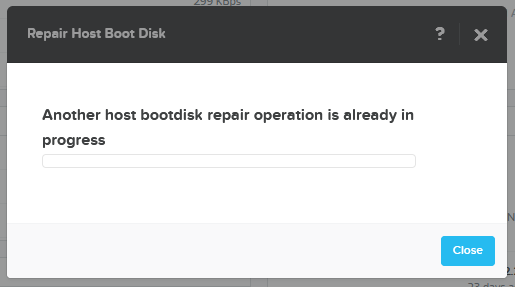
With ‘acli task.update task_list=d0784611-75bb-4cfa-99dd-36d6ab8e9039 status=kFailed’ I was able to kill the task, however when I try to restart the repair job I get a message telling me there already is another job running..
Any help will be highly appreciated.
The task essentially puts the node in phoenix to get the imaging environment. To know why it was stuck, we need to take a look at the host console. And regarding the ecli status change to fail, that just marked the task as failed, but the node might still be in phoenix or stuck state. I would say try to reboot the host once and then try again. If this also doesn’t work, you might have to go do it manually. You can refer the guide here to create phoenix+AHV iso → WinSCP it to your system → Open Java console → Mount the iso to the host → restart the host → let it boot and choose “Install Hypervisor and configure Installed hypervisor”. This would set all up for you. In the end, you will have to configure the IP on the AHV host and all shall be good. If this still doesn’t help, consider opening a support case.
Hi Shaurya,
Thank you. Last week, I indeed added the ESXI ISO to the Phoenix image and installed the node. The problem last time was that I manually changed the management IP of the node, after which the installation scripts stopped. So next time, I should not touch it until the node is completely done, after which I can set the management IP.
After some more back-and-forth, I was able to add the node to the metadata store. For now, it all looks happy again :)